Client Guide : Using Xinet Portal : Uploading Assets to Portal

Uploading Assets to Portal
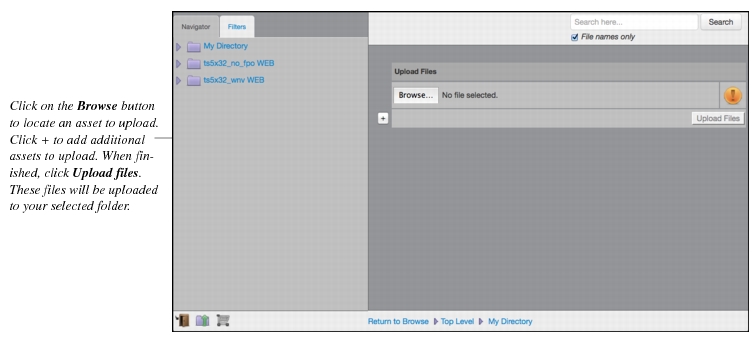
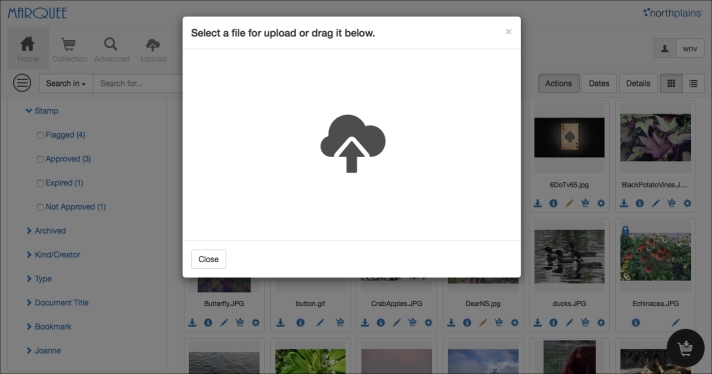
With proper permissions, you may upload assets from your own computer to the Xinet server. This is convenient when you want to send documents or images over the Internet. You may upload any type of asset. In addition, you can create a new directory structure on your assigned mounted volume before uploading your assets. For more information, see Creating a new folder on a mounted volume.
To upload multiple assets:
1.
An Uploading window, is displayed.
2.
Tip:
If you have multiple assets, use the Control + Shift keys to select more than one asset to upload. The assets are placed on the server in the selected volume from which you invoked the uploading process.
For users using the Exhibit theme, click Browse and locate the asset to upload. To add additional assets, click the + icon and browse to the next asset to upload.
For users using the Marquee theme, click on the Upload icon to browse to the asset to upload and use the Control + Shift keys to select more than one file or simply drag and drop the selected assets into the view.
All browsers will allow you to use the browsing interface to point Xinet to the asset. To do so, click on the Browse button in the Uploading window. Use the pop-up window to select the asset you want to transfer.
3.
If a file already exists on the assigned mounted volume, you are presented with uploading options. Select an option and then click Next.
If you are using the Exhibit theme, after selecting the asset, click Upload.
If you are using the Marquee theme, you are presented with a dialog box to fill in the metadata associated with the uploaded file and then click Upload.
Note: Some assigned metadata fields may be required data before uploading.