Administration Guide : Installing Xinet : Installation Workflow

Installation Workflow
The following is a recommended workflow for installing and setting up Xinet components.
1.
The server can be a VM or a server located in another location.
For more information, see Install Xinet Server on a Macintosh Server (first time or upgrade).
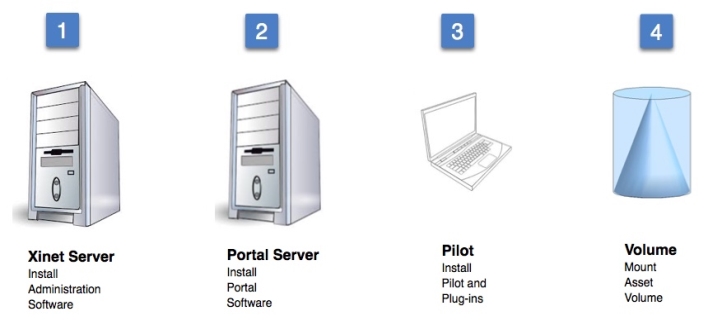
If you have a previous version of the Xinet Server software installed and want to complete a clean install, see Preparing For a Clean Xinet Server Installation.
2.
For more information, see Licensing Software.
3.
Optional - To improve performance for an environment managing a large number of assets, run the MySQL database on a separate server.
For more information, see Setting up a Separate Dedicated DB Server - Optional.
4.
Recommendation: Install Xinet Portal Server on a different server than your Xinet Server in a production environment. By doing this, you will enhance security and performance in your environment.
Security Improvements: Having Xinet Portal Server installed on a separate server in a DMZ environment, between two firewalls, protects your environment from security hacks.
Performance Improvements: Xinet Portal Server uses a lot of CPU when your user base is large. Having Xinet Portal Server installed on a separate server from the Xinet Server, which also uses CPU for other functionality such as creating image previews, will improve the performance of both servers.
If you have a previous version of the Xinet Portal Server software installed and want to complete a clean install, see Preparing for a Clean Xinet Portal Server Installation over a Previous Xinet Installation.
5.
Optional - Install the Xinet client software, Pilot, and plug-ins on a client machine.
For more information, see Installing Xinet Pilot and Plug-ins on a Client Machine.
6.
For more information, see Setting up Mounted Volumes to Share Assets.
7.
For Xinet Portal users, specify the Xinet Server in the Administration > Portal > Add Site tab.
For more information about Portal preferences, see Before You Begin.
8.
For more information, see About Microsoft Office Previews.